Wednesday, July 4, 2012

4th of July Lemon Bars

Make these patriotic and delicious lemon bars for a Fourth of July party or any other occasion. (I made these yesterday. My town celebrates on the 3rd... Yeah, I don't know why, either.) I may or may not have eaten four of these last night....

Anyway, here are some amazing red, white, and blue lemon bars from (where else?) The Best Recipe.


Lemon Bars:


Ingredients:


Crust:

1-3/4 cup flour
2/3 cup confectioners' sugar
1/4 cup cornstarch
3/4 teaspoon salt
1-1/2 sticks (12 tablespoons) unsalted butter, softened and cut into 1-inch chunks


Filling:

4 large eggs
1-1/3 cup granulated sugar
3 tablespoons flour
2 teaspoons lemon zest
2/3 cup juice from 3-4 large lemons, strained
1/3 cup whole milk
1/8 teaspoon salt

Decoration:

1 pound box strawberries
1/2 pint blueberries
Confectioners' sugar

Instructions:


Lightly butter a 13x9 inch baking pan and line with one sheet of parchment or wax paper. Dot sheet with butter and lay second sheet over it crosswise.
Pulse flour, confectioners' sugar, cornstarch, and salt in a food processor with a metal blade. Add butter and process to blend, 8-10 seconds.
Pulse until dough is pale yellow with the consistency of a coarse meal, about 3 one-second bursts. (Depending on the heat/humidity, it may not achieve the coarse meal consistency. It's fine, mine was like Play-Doh and came out delicious.)
Sprinkle mixture into lined pan and press into a 1/4 inch crust.
Those are my friend Hannah's hands. She is awesome. 'Nuff said.
Refrigerate for 30 minutes.
During that time, preheat the oven to 350 degrees. After chilling, bake on center rack for 20-23 minutes until edges are golden brown and center is just beginning to color.

While dough is refrigerating and baking, make filling. Lightly beat eggs, then whisk eggs, sugar, and flour in a medium bowl.
Stir in lemon zest, juice, milk, and salt. Blend well.


When crust comes out of oven, reduce heat to 325 degrees. Stir filling, then pour into still-warm crust.
Bake until filling feels firm when gently touched, 20-25 minutes.
Transfer pan to wire rack and cool to near-room temperature.
Pull out of pan by holding lengthwise parchment paper.

Meanwhile, slice strawberries. Cut off end and slice middle into 4-7 thin slices, depending on size. Cut off other end.
Pat dry between paper towels. Sieve confectioners' sugar over bars and place strawberry slices in rows on top.
Place blueberries in gaps between strawberries. Slice into bars and serve.
Unfortunately, I didn't pause to consider how I would slice these, but my mom figured it out.
It took a lot of willpower to not snag one from the path of the pizza cutter.
I love lemon bars now. The crust is like a shortbread and adds a perfect buttery crunch to the custardy filling. The filling has the perfect amount of lemon–not so much that it overwhelms you and makes your mouth pucker, but enough so that you definitely notice that it's a lemon bar. You don't have to worry about getting the crust to a perfect golden brown during the first baking; the second finishes it perfectly. Mine was only brown around the edges. If you double this recipe, make the crusts separately. I tried to make them at the same time, but the food processor couldn't fit the flour mixture and three sticks of butter, so we tried to halve the flour mixture. One batch of dough was like sand, the other was like a cookie dough. If that happens to you, just knead the two together and divide in half. Make sure to dry the strawberry slices well. I didn't and they dissolved all the powdered sugar, rendering my red, white, and blue treats red, yellow, and blue.
You can see the sugar slowly disappearing...
You may wind up with extra fruit, but I'm sure you can find some way to use them.
For instance, you can put Edible Arrangements to shame.
The same goes for lemons–I used three for each recipe, but we have an awesome juicer.
If you juice by hand, you will probably get less juice from each lemon and use four. These are so good that they're definitely worth making any time of year.

Tuesday, July 3, 2012

Coconut Macaroons

Something very sad has happened in the blogger world. Kari, from Newlyweds on a Budget, was hit by a drunk driver, who then fled the scene. Thankfully, she was found and taken to the hospital and will recover, although she has many broken bones. Vanessa, from Our Thrifty Ideas, has started a collection to help with Kari's medical bills. If you'd like to help out, click here. Thank you for helping out!


The other day, my mom and I were at Fresh Market. The reason why I love going there is because they always have some sort of yummy sample.
That day, it was coconut macaroons.
I tasted one and thought, "Oh. My. God. These are amazing." It was a life-changing experience, an explosion of coconut flavor. My mom saw the expression on my face and said, "Haven't you had a coconut macaroon before?" I was shocked at her implication that coconut macaroons weren't that special. Immediately, I resolved to make amazing coconut macaroons at home.
I consulted The Joy of Cooking and found, to my delight, that they have a recipe for coconut macaroons. As soon as I got my hands on some sweetened coconut, I began.

Coconut Macaroons (From The Joy of Cooking):
Makes 18-24 macaroons


Ingredients:


2/3 cup sweetened condensed milk
1 large egg white
1-1/2 teaspoon vanilla
1/8 teaspoon salt
3-1/2 cups flaked or shredded sweetened coconut (If you only have unsweetened, throw some sugar in with the coconut)

Instructions:


Preheat oven to 325 degrees. Mix milk, egg white, vanilla, and salt until combined.
Add coconut and mix until blended.
At first, I misread the recipe as 2/3 cup coconut.
Because there's nothing better than coconut coated in sweetened condensed milk.
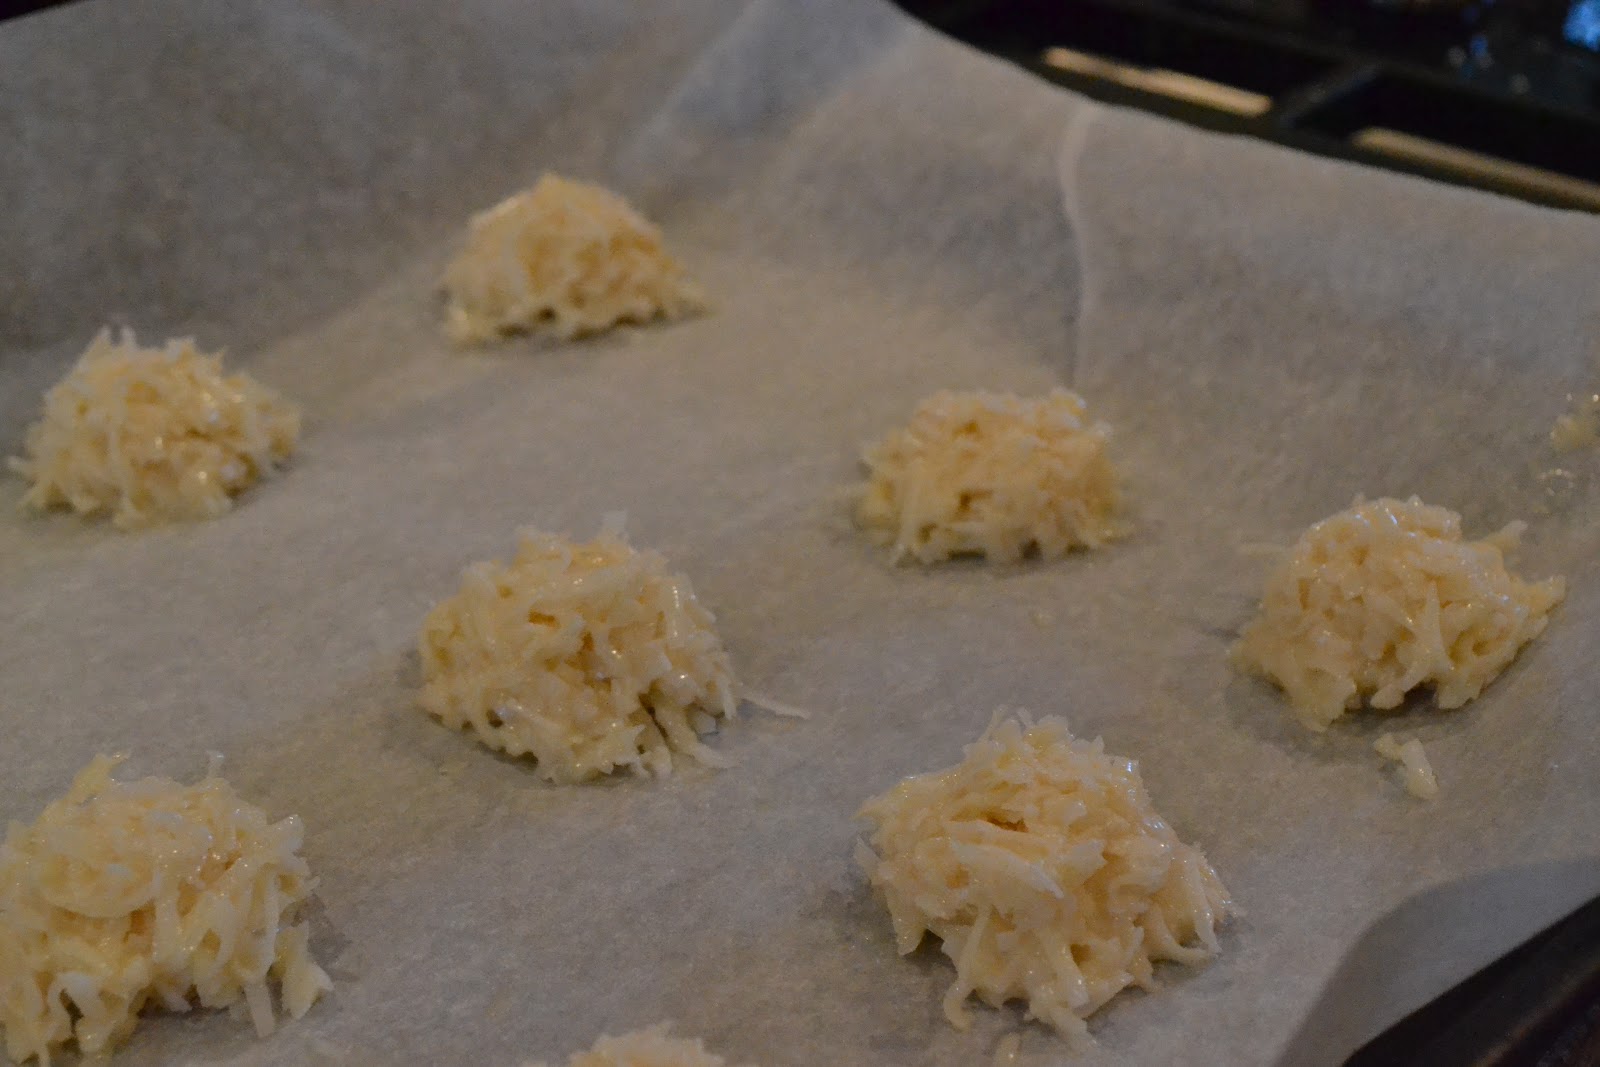
Drop dough by scant tablespoonfuls (or normal tablespoonfuls) onto two parchment-covered cookie sheets.
It's very difficult to get a scant tablespoonful of a mixture this thick.
Bake 1 sheet at a time until browned, 19-25 minutes.
Allow to cool and store at room temperature for up to 1 day or freeze.


These were just as good, if not better, than the ones at Fresh Market. One caveat, though: The macaroons get slightly soggy and the flavor of the condensed milk intensifies the longer they sit out. Either freeze them or eat them right away (it shouldn't be hard). However, when less than a day old, the balance between coconut and condensed milk is perfect. The macaroons are perfect alone, but for a really decadent treat, drizzle them with Aunt Mona's Fudge Sauce.
Stay tuned for a special Fourth of July post!

Sunday, July 1, 2012

Peanut Butter-Chocolate Swirl Ice Cream

When browsing the library the other day, I found a book called The Ultimate Peanut Butter Book. My brothers love peanut butter (so do I, but I don't put it in my cereal. They do.) I paged through it and honed in on the recipe for peanut butter ice cream. Yes, peanut butter ice cream. I decided to swirl in Aunt Mona's Hot Fudge Sauce for a chocolate kick.

Peanut Butter-Chocolate Swirl Ice Cream:


Ingredients:

1/2 cup packed light brown sugar
1/4 cup granulated sugar
2 large eggs plus 2 large egg yolks, room temperature
1-1/2 cups whole milk
1/2 cup creamy peanut butter
1 cup heavy cream
1 tablespoon vanilla extract
1/4 teaspoon salt (optional)
Aunt Mona's Fudge Sauce (Not pictured. Sorry.)


Instructions:


Beat both sugars, eggs, and yolks with electric mixer at medium speed until thick and yellow.

Set aside. Heat milk over medium heat in a medium saucepan on a medium burner until small bubbles pop up around edges.
Beat half the hot milk into egg mixture on medium speed, then beat that mixture into the remaining milk in the saucepan.
Reduce heat to low and cook, stirring, until a thin layer of the custard coats the back of a spoon and holds its shape when you run a finger through it.
Remove from heat and whisk in peanut butter.
Strain through a fine sieve to catch any bits of scrambled egg.
Stir in heavy cream, vanilla, and salt.
Cover and place mixture in fridge to chill for at least four hours or overnight.
If you want the chocolate to be fully incorporated, stir in fudge sauce and freeze in an ice cream maker according to manufacturer's instructions.
Otherwise, scoop half the finished ice cream into a container, scoop the rest on top, and pour more sauce over it.


This ice cream tastes like Ming's Peanut Butter Frosting, but in ice cream form and with the added benefit of chocolate. The peanut butter part is very sweet and balances perfectly with the chocolate. It's very creamy compared to other ice creams made in our ice cream maker, although it does harden up when kept in the freezer for an extended period of time. (But then, all ice creams do.)
For once, the emphasis wasn't on the "ice".
If you want a more defined peanut butter taste, reduce the sugar a little. Be sure to whisk the peanut butter in very well, because I wound up with a thick peanut butter/cream mixture on the bottom of the strainer. I scraped it in, and it turned out fine. The fudge doesn't freeze solid, as I feared it would. It has pretty much the same texture as the ice cream itself. All in all, this was a delicious use of peanut butter. (So much better than putting it in cereal. Really, brothers?)