Showing posts with label baking. Show all posts

Monday, July 23, 2012

Chocolate Chip Cookies

My mom makes the best chocolate chip cookies in the universe. I know everyone says that, but in my case, it's true.  Chocolate chip cookies are adored by people of every age (for good reason), so when new neighbors moved in with young kids, I knew I had to bring over a batch.


The Best Chocolate Chip Cookies EVER
Makes about 30


Ingredients:


1 cup (2 sticks) unsalted butter
1 cup firmly packed light brown sugar
1 cup white sugar
1 tablespoon vanilla extract
1 egg
2-1/2 cups all-purpose flour
1 teaspoon baking soda
3/8 teaspoon salt
2-1/2 cups chocolate chips


Instructions:


Preheat oven to 350 degrees and line two baking sheets with parchment paper.
Whisk flour, baking soda, and salt in a medium bowl.
I weigh my flour. I've seen too many flat cookies; it's tragic.
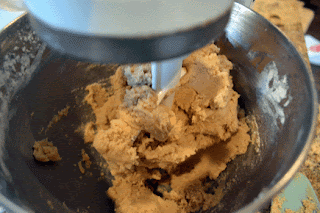
Cream butter with both sugars until blended.

Stir in vanilla and egg.

Mix in flour, baking soda, and salt all at once.

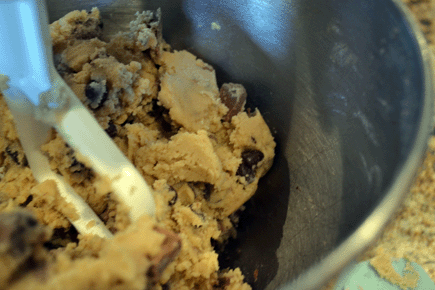
Once mixed, add chocolate chips.
I had to use some milk chocolate chunks.

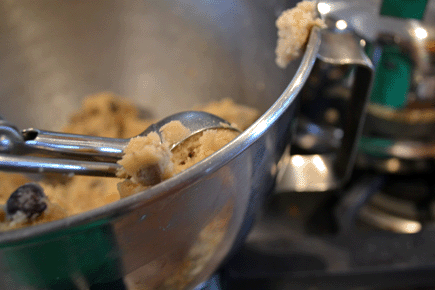
Form into spheres with a 1-1/2 inch ice cream scoop and place 2-3 inches apart on baking sheets.

Press down slightly. Bake one sheet at a time until light brown around edges, 13 to 16 minutes. (Don't overbake–they crisp up as they cool. They will seem a little underdone coming out of the oven.)

Store in airtight container at room temperature for one day, then freeze. (They're surprisingly good frozen, too.)


I love these cookies. The outsides are crispy and the insides are chewy and the chocolate chips are oh-so-gooey. (I'm a poet as well as a food blogger. Just kidding.) In addition to being amazing when baked, the batter tastes great as well. I can never resist grabbing a spoonful (or several) as I'm scooping the cookies.
I would have gotten 31 cookies...
It's a miracle that I haven't contracted salmonella yet. If it wasn't for the whole don't-eat-raw-eggs thing, I would just eat it from the bowl. However, the baked cookies are delicious... and much less hazardous.

Enjoy, new neighbors.

Tuesday, July 10, 2012

Garlic Herb Pizza Dough

When I found out that we were having one of our infrequent pizza nights, I immediately reached for The Joy of Cooking. Since we wanted to start our pizzas at around 6:30, I decided to start the dough rising at 10:00 that morning.
Needless to say, that didn't happen.
After a frantic bike ride to Jewel because I couldn't find the yeast my mom insisted we had, one restart because I thought I had killed said yeast, and one flour explosion later, I had my dough.
It was almost 11:00.
Oh well.
We didn't eat until nearly 8:00 that night.

Garlic-Herb Pizza Dough
Makes 8 individual, 4 medium, 2 large, or 1 absolutely enormous pizza

Ingredients:

1/2 cup warm water (about 105 degrees)
1/2 teaspoon yeast (If you are reading this now and need dinner in two hours, use a full packet of yeast. It'll only take two hours to rise. However, a longer rising time allows more flavor to develop so it may not be as wonderful. It'll still be good, though.)
1-1/4 cups room-temperature water
2 tablespoons extra-virgin olive oil
4 medium minced garlic cloves
1 teaspoon minced fresh thyme, oregano, or rosemary
2 cups bread flour (use all-purpose if you don't have bread flour), plus extra for dusting hands and workplaces
2 cups whole-wheat flour
1-1/2 teaspoons salt
Vegetable oil or spray for oiling bowl


Instructions:

Measure warm water into a 2-cup measuring cup.
Sprinkle in yeast and let stand until yeast dissolves and swells, roughly 5 minutes.

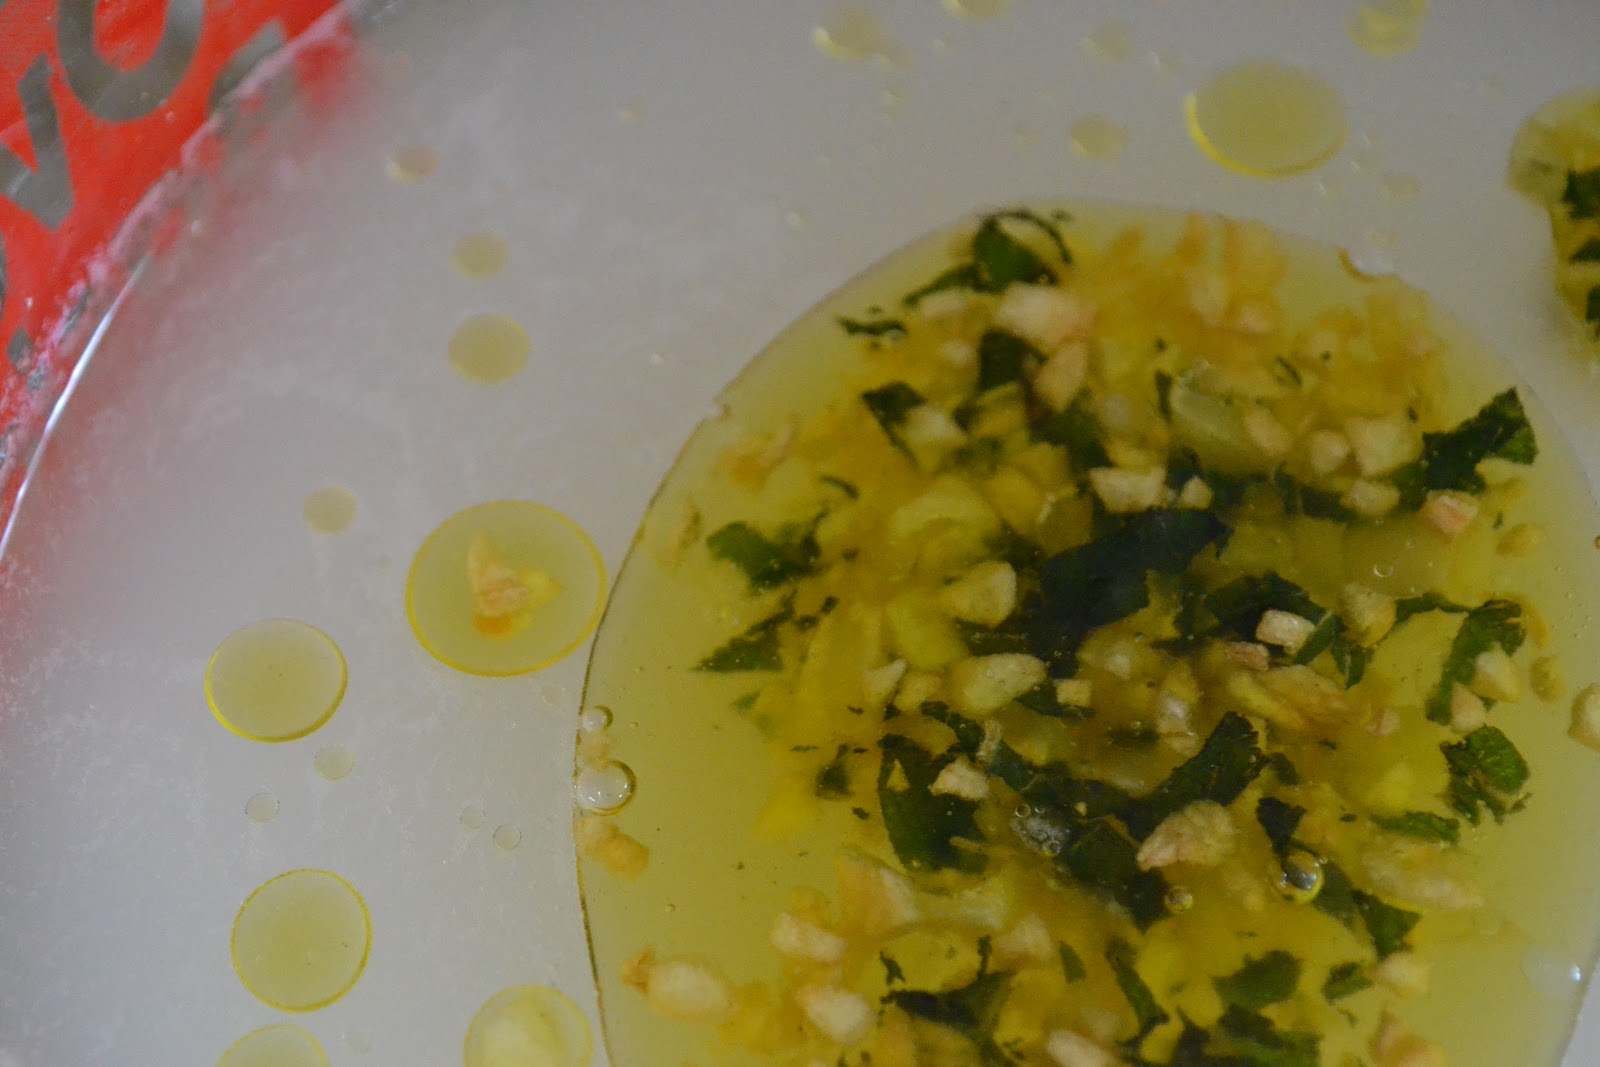
Meanwhile, heat olive oil in a small skillet.

Add garlic and herbs and sauté until garlic is golden brown, 2 to 3 minutes.

Allow to cool and add, along with room-temperature water, to the yeast. Stir to combine.

Pulse flour and salt in a large food processor fitted with a steel blade.

Continue to pulse while adding wet ingredients through feed tube, holding back several tablespoons. Try not to let the garlic stay in the measuring cup. Keep pulsing until dough forms into a ball.

If the dough doesn't form readily into a ball, add the remaining liquid. Process until smooth and elastic, about 30 seconds longer. Use rubber spatula to turn out dough onto a lightly floured work surface. It should be a little tacky.

Knead by hand for a few strokes to form dough into a smooth, round ball, then oil or spray deep metal bowl.

Place dough into bowl and cover with plastic wrap. Don't allow the wrap to touch the dough.

Let rise for 8-8.5 hours at room temperature or until doubled in size.

Punch dough down with fist and turn out onto lightly floured work surface. Divide into 8, 4, or 2 dough balls.

Place damp cloth on top and let sit for 5 minutes.
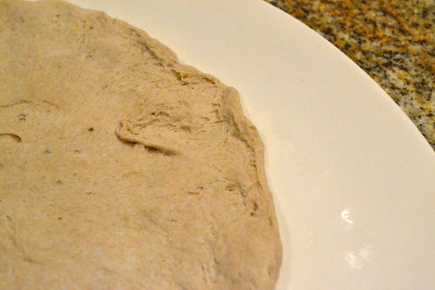
Cook as desired and freeze extra dough balls. To stretch out, flatten with palm and spread with fingertips.
This is right.
This is wrong.
If necessary, allow to rest before continuing. If desired, roll edges into a crust.
For the really daring, roll cheese into the crust!

This is a delicious and healthy pizza dough with better flavor than other doughs, although it didn't seem as garlicy as it should have. (My fault. I found out later that the garlic cloves I used qualified as "microscopic" in the spectrum of garlic sizes.) It was moist and crispy, despite my not using bread flour. The grilled dough was was good enough to serve as a side by itself if brushed with some olive oil, as The Best Recipe claimed. One person had trouble stretching the dough into a pizza shape, but that may have been my fault if it was smaller than the others.

A Small Ramble on Mom Witchcraft:
I mentioned that I couldn't find our yeast, right? My mom said it was in the fridge. I looked literally everywhere in the refrigerator. I pulled everything out, but I couldn't find the stinking yeast! So then I made my frantic bike ride to Jewel and bought some. When mom came home and I told her about it, she reached into the fridge and pulled it out.
This happens Every. Single. Time.
I'm not kidding. Whenever I lose something, my mom walks into the room and pulls it out from some spot that I HAVE ALREADY SEARCHED. Is every mom like this? I'm beginning to think that she magically summons things out of oblivion.


The end.

Sunday, July 8, 2012

Banana-Chocolate Chip Muffins

Bored one Sunday morning, still suffering from the miserable failure of the Healthy Mug Cake from last night (coming soon!), I decided to make something sort of healthy (but still delicious) to give myself some confidence back. Since The Best Recipe is consistently amazing, I decided to peruse the pages and find something to make. I chose muffins since it was a Sunday morning and my brothers would be ravenous when they got back from their workout.
I apologize in advance for the terrible lighting in these photos. I'm trying to find the ideal lighting for food photography.


Banana-Chocolate Chip Muffins (adapted from The Best Recipe):
Makes 12 large muffins or a heck of a lot of mini muffins
UPDATE: I made mini muffins this weekend. The recipe made 53 muffins using a heaping tablespoon of batter for each muffin. I thought I'd tell you since "a heck of a lot" isn't the most descriptive.

Ingredients:

2-1/2 cup all-purpose flour
Scant 1/2 cup whole wheat flour
1 tablespoon baking soda
1/2 teaspoon salt
10 tablespoons unsalted butter, softened
1 cup packed brown sugar
2 large eggs
1-1/2 cups plain low-fat yogurt (substitute 1 cup greek yogurt and 1/2 cup skim milk if you don't have plain yogurt)
2 large bananas, finely chopped (about 1-1/2 cups)
3/4-1 cup chocolate chips
12 muffin liners or vegetable cooking spray or unsalted butter


Instructions:

Adjust oven rack to lower-middle position and preheat to 375 degrees.
Whisk both flours, baking soda, and salt in a medium bowl. Set aside.
With an electric mixer, cream butter and sugar until light and fluffy, roughly 2 minutes.
Why are the worst things for you so good?
Add eggs one at a time, beating well after adding each egg.
Beat in half the flour mixture.
Beat in one-third the yogurt.
Beat remaining dry ingredients and yogurt in two batches each, alternating. (Flour-yogurt-flour-yogurt.)
Fold in banana and chocolate chips.
Spray a 12-cup muffin tin with vegetable cooking spray or coat each with butter or use muffin liners.
Divide batter evenly amongst cups. Bake until golden brown, 25-30 minutes. Allow to cool for about 5 minutes in tins, then remove from tin and serve.

The thing I love about The Best Recipe is that each basic recipe includes a bunch of variations. It also leaves room for your own variations. There wasn't actually a recipe for banana-chocolate chip muffins, but there were ones for banana almond and chocolate pecan, so I combined them. Since I wanted to make these a little healthier, I substituted some whole wheat flour for some of the all-purpose, although they are by no means a health food. However, they are absolutely worth it.
Not only are these delicious, they are by far the prettiest muffins I've ever seen–better even than bakery muffins. They had a rounded top and were a gorgeous golden brown.

Aren't they gorgeous?


I'm gushing about these like they're my children. 
My babies!


The chocolate chips were perfect in the muffins (if you want lots of them, use a cup instead of 3/4 of a cup). The banana is great also, but you can't mash them or they get lost in the wonderful flavor of the rest of the muffin.
Best. Muffins. EVER!