Thursday, June 21, 2012

Simple Sauces Part 1–Tomato Coulis

This is the first in a series of quick and easy sauces to jazz up any dish.
The June 20th edition of the New York Times had an article on coulis in their Good Eating section. A coulis is supposed to be a sauce that is beautiful as well as tasty. Since I've never made a "fancy" sauce before, I decided to give it a shot.
I decided to make my coulis with tomatoes, which were literally the only produce we had in the house beyond scallions and arugula, to go with some leftover chicken my parents brought home from a restaurant. I was improvising most of the time, since the Times used bell peppers. I actually had no clue if this would work or just explode in my face. (I have no clue how that would work either.) So without further ado, here is my tomato coulis.

Tomato Coulis


Ingredients:


2 large tomatoes
2 unpeeled garlic cloves
2 tablespoons extra-virgin olive oil
To my knowledge, my brothers have never made olive oil. I wish they would.
1/2 to 1 tablespoon sherry vinegar
Seasonings: Salt, pepper, cayanne, cumin
Chicken broth (optional)


Procedure:


Roast tomatoes over a burner or under a broiler until soft.
Place in a brown paper bag to cool.
I assume a white paper bag would work too.
While tomatoes are cooling, roast garlic in a small skillet over medium heat until skin is blackened and clove is soft.
Peel garlic and tomatoes and cut tomatoes into quarters.
Place everything except for seasonings and broth in a blender and pureé until smooth.
Season to taste and blend to mix in spices. If pureé is too thick, add chicken broth. If you like, strain through a fine mesh strainer or chinois. If it becomes too watery after straining, mix solids back in.


Pretty? Yes.
Tasty? Depends.
It was a nice orange color, but I used a full tablespoon of vinegar in mine, which was too much for me. As a sauce for my chicken, it was too strong to use a lot of, although it provided a nice kick when I used a little. It made a great sauce for a veggie stir-fry we had the next day, and my mom said it made a great salad dressing. (She didn't mind the vinegar; she actually ate it as a soup!) Next time, though, I'm either going to use the half tablespoon of vinegar or make a fruit coulis. It really depends on your preferred tastes. Also, I would highly recommend using a broiler to roast your tomatoes because I almost killed myself trying to roast them over a burner.
I dropped it multiple times and almost sent it flying across the room once.

Chocolate Caramel Mug Cake

Here's a revelation I had a couple of days ago: It's possible to have chocolate cake in less than 5 minutes.
You probably are thinking, "No way! That's not possible!"
Well, it is. You use the microwave.
Now you're thinking, "Blasphemy! No cake can be made in the microwave and still taste good!"
Well, it can be. You mix batter for an individual cake and pour it in a mug and and bake it in the microwave. And it's good.
"..."
Exactly.

Here's how, using NomNomBlingBling's recipe found through the Huffington Post:

Chocolate Caramel Mug Cake

Ingredients:

4 tablespoons all-purpose flour
4 tablespoons sugar
3 tablespoons unsweetened cocoa powder
1/4 teaspoon baking powder
1/4 teaspoon salt
The bananas lurking in the background are not part of the recipe.
1 beaten egg
3 tablespoons skim milk
1 tablespoon vegetable oil
2 salted caramels (If you don't have salted caramels, press a few grains of sea salt into the tops of normal caramels. BOOM! Instant fancy salted caramels.)
1/8 cup chocolate chips (The original recipe doesn't call for this. Look below to see why I added it.)


Preparation:

Mix flour, sugar, cocoa, baking powder, salt, egg, milk, and oil in a bowl.
Me being a rebel and mixing it in the mug
Pour into a coffee mug and drop caramels in center one at a time.
"Noo!!" *glub glub glub*
Microwave on high for one minute and 15 seconds. It will rise above the mug edge and appear to be boiling over, but don't panic–it's not. By the time the batter gets to the top of the mug, it will have turned into cake.
It took a lot of willpower to leave it in when it rose.
If it's not cooked through, microwave for 7-15 seconds more.


Despite being made in a microwave, this cake was great! It was moist and tasty, although I feel that there could have been a more intense chocolate flavor. That's why I added the 1/8 cup of chocolate chips to the recipe. The texture is a little different than a conventional chocolate cake–it's slightly rubbery. Also, the caramels sank to the very bottom and melted, so most of it was just chocolate cake. It may have been because I took a bunch of pictures before putting it in the microwave, giving them time to sink all the way to the bottom. Along with the caramel at the bottom, there was a big flour pocket because I was too lazy to mix it in a bowl like the recipe said and just mixed it in the mug. Bad idea.

The bottom quarter of the cake had streaks of flour and the side of the mug had batter on it from the whisk.
Anyway, this cake is perfect if you get struck by a sudden chocolate craving and don't want to turn the oven on–or just can't wait long enough for a cake to bake. (It was above 90 degrees outside the day I made this. It's not fun to have a 350 degree oven spewing heat inside an already hot house. Thus, the mug cake.)

Wednesday, June 20, 2012

Bell Pepper Yogurt Harissa Soup

So a couple of days ago, I was looking through Martha Stewart Living and I found this soup recipe. Mom said I could make it for dinner this week, and last night was the night! It's soup-er easy (sorry, couldn't resist) and takes less than 15 minutes to prepare. Since it has to chill for at least an hour, it's perfect to prepare earlier in the day if you're super busy (See? I can abstain from making bad puns.)

Bell Pepper Yogurt Harissa Soup


Ingredients:
3 yellow bell peppers
2 teaspoons harissa
2 cups low-fat plain yogurt (I used Whole Foods Organic Nonfat Plain Yogurt)
1/2 teaspoon coarse salt


Preparation:

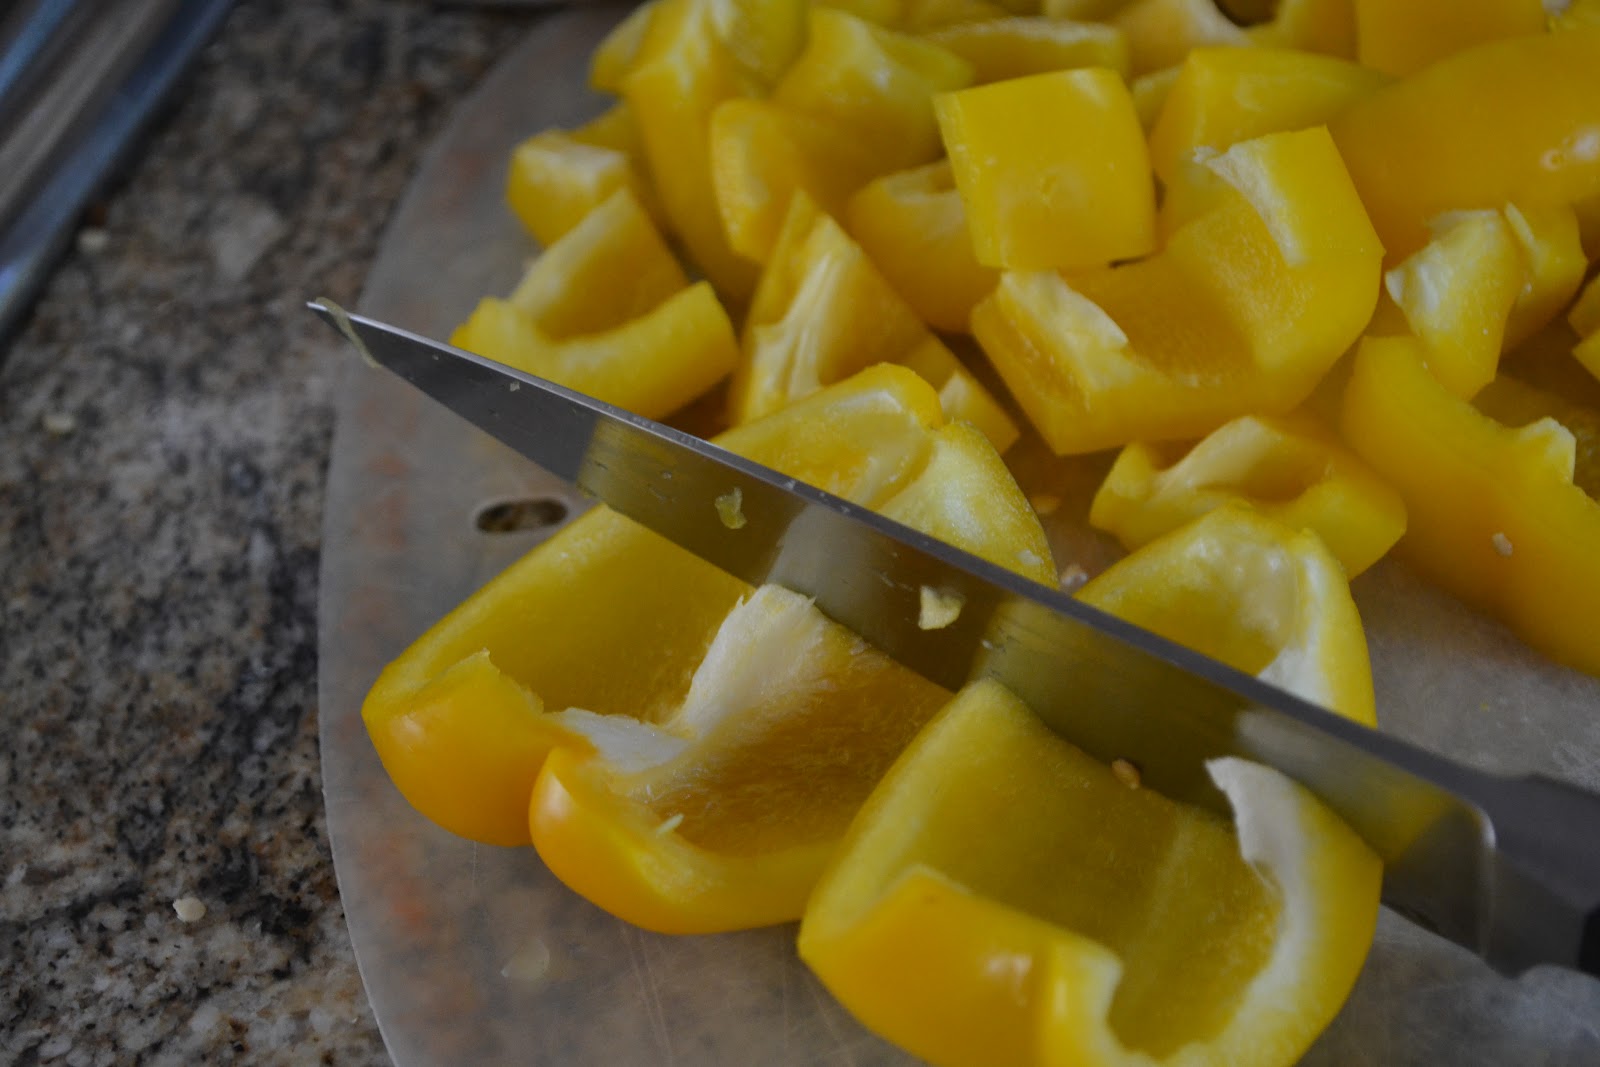
Chop peppers into quarters and slice out seeds. Cut quarters into large chunks.
This was very hard to photograph and involved me precariously balancing a knife embedded in the peppers on the edge of the counter and praying it wouldn't fall.
Dump everything in a blender and pureé until smooth.
Not all the peppers fit in the blender. The ones on the cutting board were very relieved until I made them the second batch.
Chill for at least an hour in the fridge or for 15 minutes in the freezer if you're pressed for time.


This soup is really good! For me, it was a tad spicy, but I still enjoyed it. My family all liked it (although I wasn't present when they tried it, so they might have just been saying that...)
Actually, never mind. My dad was raving about it; he definitely liked it. The texture never got completely smooth because the blender couldn't get the little tiny bits of pepper and stuff in the harissa (which is a North African chili sauce, by the way. I didn't know what it was either.)
I apologize for the terrible quality of this picture. I shrunk it so you wouldn't have to look at its dreadfulness as much.
If you're not a big fan of spice, I would recommend reducing the harissa to 1-1/2 teaspoons. If you want a slightly creamier soup, use low-fat yogurt like the recipe calls for. I was racing through Whole Foods trying to get these ingredients and everything else on the shopping list based on a glance at the Martha Stewart Living on the newsstand. I'm just lucky I didn't grab chili peppers instead of bell.
These aren't bell peppers.

These definitely aren't bell peppers.