Don't you hate it when you buy an entire bottle of whole milk, use a cup or two, then have it go bad before you can find another thing to do with it? I do. I really do.
I had three cups of whole milk that was expiring in two days, so I googled "how to use up whole milk". Thankfully, The Thrifty Mama has a whole page on what to make when your milk is about to go bad.
Chocolate Pudding (from The Thrifty Mama)
Makes 1 large or 6 individual puddings
Ingredients:
3 cups whole milk
1/4 cup cornstarch

1/3-1/2 cup sugar
1 cup semi-sweet chocolate chips
Pinch of salt (optional, but recommended)
Instructions:
In a small bowl, whisk 1/2 cup milk and cornstarch together until completely smooth.


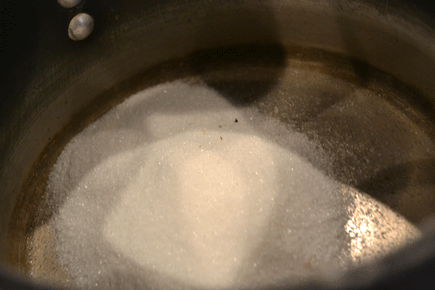
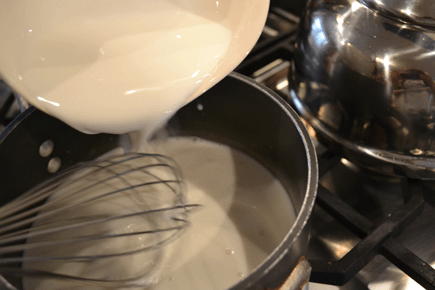
Pour remaining 2-1/2 cups milk and sugar in a medium saucepan.


Slowly whisk in cornstarch mixture and salt.
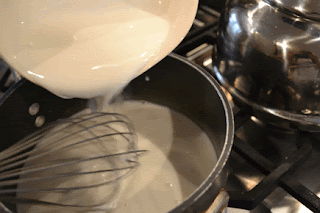

Cook over low heat, whisking to prevent lumps from forming.

When milk mixture starts to thicken, add chocolate chips.

Stir until chips are completely melted and pudding is smooth and thick.


Pour into one large or 6 individual ramekins; allow to cool.


Stir, then place plastic wrap on top and press to pudding.

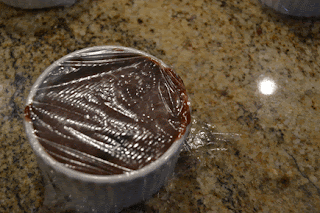
Refrigerate for at least 2 hours for ramekins or 3 hours for one bowl.

I've never really liked pudding until now. This had a nice texture, although there were some lumps the next day. It had a mild chocolate flavor and wasn't too sweet. You can make it more sweet by using a full half cup. It's definitely better than any other pudding I've had. (Just because I didn't like pudding doesn't mean I'd never had it. I was a kid, you know. I went to summer camp.) It's surprisingly easy to make as well. It was made in a flash and it was gone in a flash... This was made when my brother was getting his wisdom teeth out. He was very appreciative; it's hard to eat anything besides pudding when your face is swollen like a chipmunk.
I had three cups of whole milk that was expiring in two days, so I googled "how to use up whole milk". Thankfully, The Thrifty Mama has a whole page on what to make when your milk is about to go bad.
Chocolate Pudding (from The Thrifty Mama)
Makes 1 large or 6 individual puddings
Ingredients:
3 cups whole milk
1/4 cup cornstarch

 |
| My friend thought my presentation was boring. |
1 cup semi-sweet chocolate chips
Pinch of salt (optional, but recommended)
Instructions:
In a small bowl, whisk 1/2 cup milk and cornstarch together until completely smooth.




I've never really liked pudding until now. This had a nice texture, although there were some lumps the next day. It had a mild chocolate flavor and wasn't too sweet. You can make it more sweet by using a full half cup. It's definitely better than any other pudding I've had. (Just because I didn't like pudding doesn't mean I'd never had it. I was a kid, you know. I went to summer camp.) It's surprisingly easy to make as well. It was made in a flash and it was gone in a flash... This was made when my brother was getting his wisdom teeth out. He was very appreciative; it's hard to eat anything besides pudding when your face is swollen like a chipmunk.
 |
| Unfortunately, he couldn't have the nuts leftover from Gianduja. |