When I found out that we were having one of our infrequent pizza nights, I immediately reached for The Joy of Cooking. Since we wanted to start our pizzas at around 6:30, I decided to start the dough rising at 10:00 that morning.
Needless to say, that didn't happen.
After a frantic bike ride to Jewel because I couldn't find the yeast my mom insisted we had, one restart because I thought I had killed said yeast, and one flour explosion later, I had my dough.
It was almost 11:00.
Oh well.
We didn't eat until nearly 8:00 that night.
Garlic-Herb Pizza Dough
Makes 8 individual, 4 medium, 2 large, or 1 absolutely enormous pizza
Ingredients:
1/2 cup warm water (about 105 degrees)
1/2 teaspoon yeast (If you are reading this now and need dinner in two hours, use a full packet of yeast. It'll only take two hours to rise. However, a longer rising time allows more flavor to develop so it may not be as wonderful. It'll still be good, though.)
1-1/4 cups room-temperature water
 2 tablespoons extra-virgin olive oil
4 medium minced garlic cloves
1 teaspoon minced fresh thyme, oregano, or rosemary
2 cups bread flour (use all-purpose if you don't have bread flour), plus extra for dusting hands and workplaces
2 cups whole-wheat flour
1-1/2 teaspoons salt
Vegetable oil or spray for oiling bowl
Instructions:
Measure warm water into a 2-cup measuring cup.
Sprinkle in yeast and let stand until yeast dissolves and swells, roughly 5 minutes.


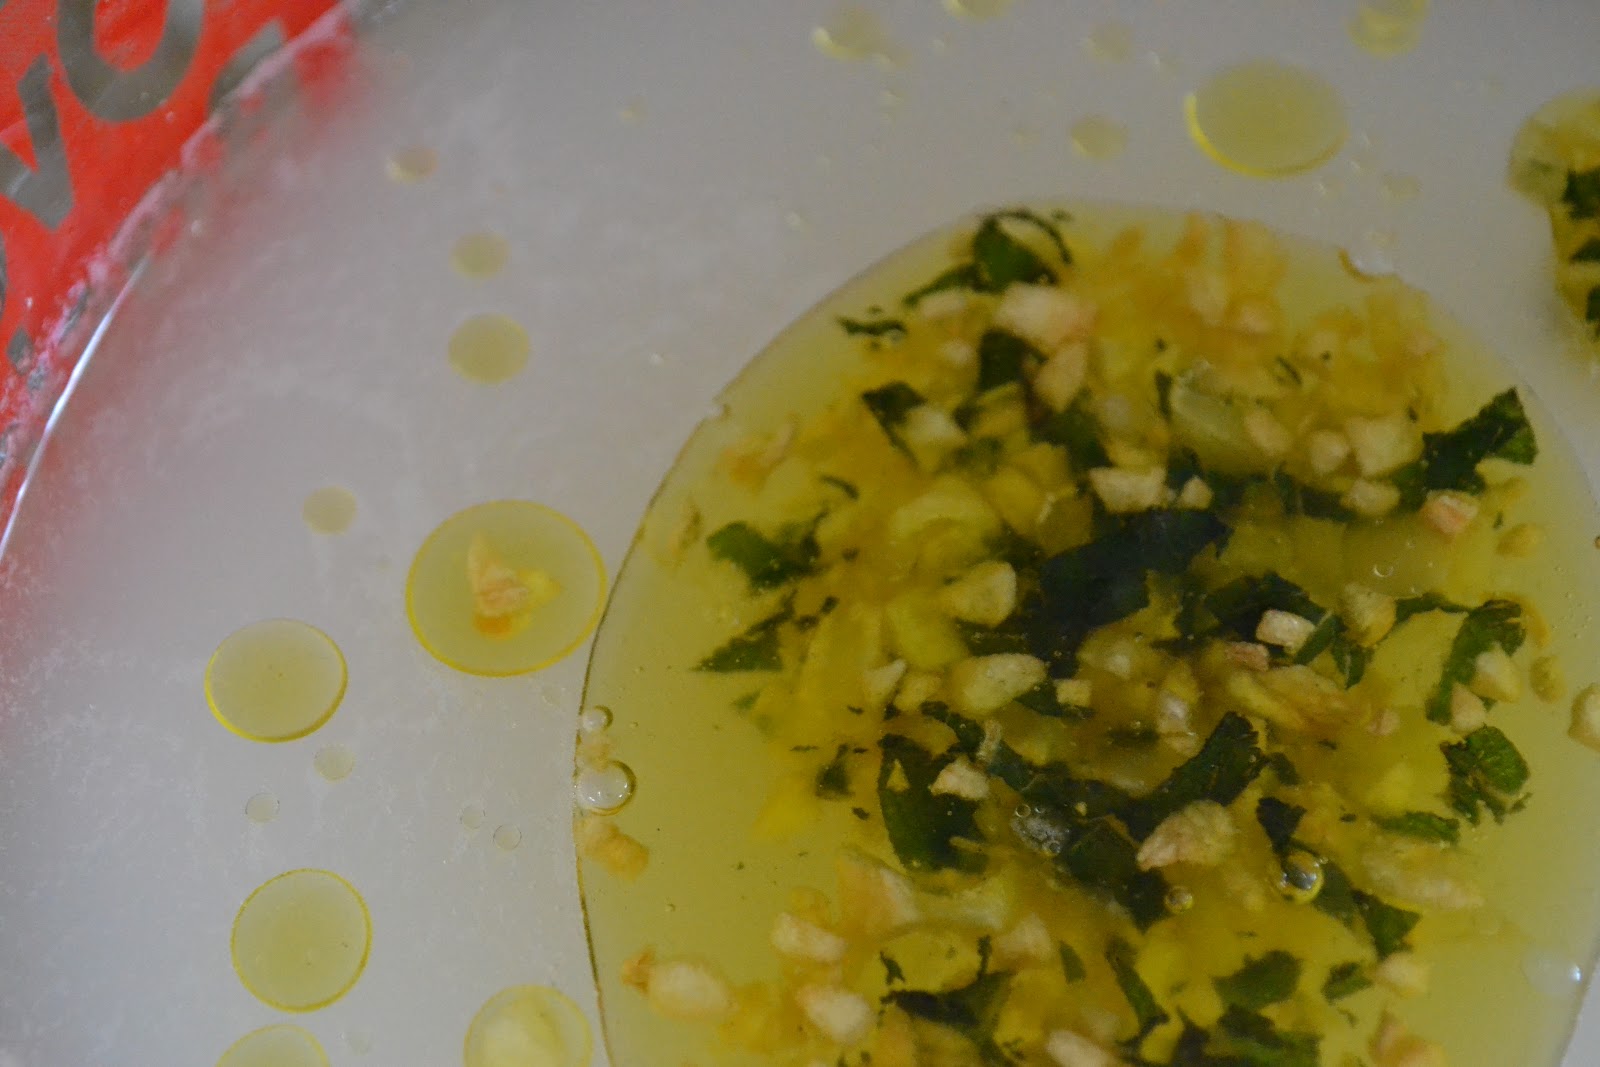
Meanwhile, heat olive oil in a small skillet.

Add garlic and herbs and sauté until garlic is golden brown, 2 to 3 minutes.


Allow to cool and add, along with room-temperature water, to the yeast. Stir to combine.

Pulse flour and salt in a large food processor fitted with a steel blade.

Continue to pulse while adding wet ingredients through feed tube, holding back several tablespoons. Try not to let the garlic stay in the measuring cup. Keep pulsing until dough forms into a ball.


If the dough doesn't form readily into a ball, add the remaining liquid. Process until smooth and elastic, about 30 seconds longer. Use rubber spatula to turn out dough onto a lightly floured work surface. It should be a little tacky.

Knead by hand for a few strokes to form dough into a smooth, round ball, then oil or spray deep metal bowl.

Place dough into bowl and cover with plastic wrap. Don't allow the wrap to touch the dough.

Let rise for 8-8.5 hours at room temperature or until doubled in size.

Punch dough down with fist and turn out onto lightly floured work surface. Divide into 8, 4, or 2 dough balls.


Place damp cloth on top and let sit for 5 minutes.
 Cook as desired and freeze extra dough balls. To stretch out, flatten with palm and spread with fingertips.
If necessary, allow to rest before continuing. If desired, roll edges into a crust.
This is a delicious and healthy pizza dough with better flavor than other doughs, although it didn't seem as garlicy as it should have. (My fault. I found out later that the garlic cloves I used qualified as "microscopic" in the spectrum of garlic sizes.) It was moist and crispy, despite my not using bread flour. The grilled dough was was good enough to serve as a side by itself if brushed with some olive oil, as The Best Recipe claimed. One person had trouble stretching the dough into a pizza shape, but that may have been my fault if it was smaller than the others.
A Small Ramble on Mom Witchcraft:
I mentioned that I couldn't find our yeast, right? My mom said it was in the fridge. I looked literally everywhere in the refrigerator. I pulled everything out, but I couldn't find the stinking yeast! So then I made my frantic bike ride to Jewel and bought some. When mom came home and I told her about it, she reached into the fridge and pulled it out.
This happens Every. Single. Time.
I'm not kidding. Whenever I lose something, my mom walks into the room and pulls it out from some spot that I HAVE ALREADY SEARCHED. Is every mom like this? I'm beginning to think that she magically summons things out of oblivion.
The end.
Needless to say, that didn't happen.
After a frantic bike ride to Jewel because I couldn't find the yeast my mom insisted we had, one restart because I thought I had killed said yeast, and one flour explosion later, I had my dough.
It was almost 11:00.
Oh well.
We didn't eat until nearly 8:00 that night.
Garlic-Herb Pizza Dough
Makes 8 individual, 4 medium, 2 large, or 1 absolutely enormous pizza
Ingredients:
1/2 cup warm water (about 105 degrees)
1/2 teaspoon yeast (If you are reading this now and need dinner in two hours, use a full packet of yeast. It'll only take two hours to rise. However, a longer rising time allows more flavor to develop so it may not be as wonderful. It'll still be good, though.)
1-1/4 cups room-temperature water

4 medium minced garlic cloves
1 teaspoon minced fresh thyme, oregano, or rosemary
2 cups bread flour (use all-purpose if you don't have bread flour), plus extra for dusting hands and workplaces
2 cups whole-wheat flour
1-1/2 teaspoons salt
Vegetable oil or spray for oiling bowl
Instructions:
Measure warm water into a 2-cup measuring cup.
Sprinkle in yeast and let stand until yeast dissolves and swells, roughly 5 minutes.




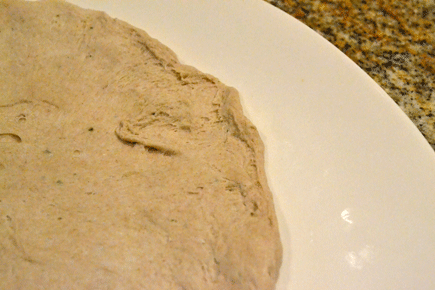 |
| This is right. |
 |
| This is wrong. |
 |
| For the really daring, roll cheese into the crust! |
This is a delicious and healthy pizza dough with better flavor than other doughs, although it didn't seem as garlicy as it should have. (My fault. I found out later that the garlic cloves I used qualified as "microscopic" in the spectrum of garlic sizes.) It was moist and crispy, despite my not using bread flour. The grilled dough was was good enough to serve as a side by itself if brushed with some olive oil, as The Best Recipe claimed. One person had trouble stretching the dough into a pizza shape, but that may have been my fault if it was smaller than the others.
A Small Ramble on Mom Witchcraft:
I mentioned that I couldn't find our yeast, right? My mom said it was in the fridge. I looked literally everywhere in the refrigerator. I pulled everything out, but I couldn't find the stinking yeast! So then I made my frantic bike ride to Jewel and bought some. When mom came home and I told her about it, she reached into the fridge and pulled it out.
This happens Every. Single. Time.
I'm not kidding. Whenever I lose something, my mom walks into the room and pulls it out from some spot that I HAVE ALREADY SEARCHED. Is every mom like this? I'm beginning to think that she magically summons things out of oblivion.
The end.


