Friday, June 29, 2012

Vegan Banana-Chocolate Soft Serve

My mom first found this recipe on Pintrest, one of the greatest sites ever made. She said we should make it, but we didn't have an opportunity until I learned that one of my friends on the sailing team was allergic to dairy. I can't imagine living without dairy, without ice cream, chocolate, or milk. Since he loves bananas, I decided to make this for him with my Aunt Mona's hot fudge sauce swirled in. I had to modify it, since we don't own half the extracts originally required (butter, almond, and maple) or agave nectar.

Vegan Banana-Chocolate Soft Serve (adapted from sheknows.com):


Ingredients:


5 bananas, cut into small pieces and frozen
2 tablespoons vanilla extract
2 tablespoons sugar
Being an idiot, I didn't slice the bananas before freezing them.
1/4 teaspoon baking soda (optional)
2 tablespoons sprinkles (optional)
As much of Aunt Mona's Hot Fudge Sauce (made with oil) as you want


Instructions:


Put banana chunks into a food processor and process until smooth, stopping to scrape down sides if necessary.
Starting to blend...
A little more...
Almost there...
Perfect!
Add vanilla extract, sugar, and baking soda and pulse until well combined.
The whirlpool of vanilla death!
Add sprinkles (if using) and pulse until distributed evenly. Scoop half into a bowl or container and drizzle fudge sauce over top.
Add other half, pour sauce over top, and swirl with a spoon or spatula.


When I first heard about this, I was positive that it would be terrible. It seemed way too easy–just whirl frozen bananas in a food processor and you get soft serve?
Well, guess what? I was wrong. Yes, it's easy, but no, it isn't terrible. It's actually really good! It tastes very banana-y, being composed mostly of bananas, but if you like bananas and chocolate, it's great. The bittersweet fudge sauce is the perfect complement to the sweet bananas. Don't keep it in the freezer too long, though, or it won't be soft serve anymore. It'll still be delicious, though. The whole sailing team liked it, as did my family.
A perfect guilt-free summer treat!

Wednesday, June 27, 2012

Aunt Mona's Hot Fudge Sauce

My great-great Aunt Mona's philosophy was, "A hot fudge sundae a day keeps the doctor away." She lived a long and healthy life, so there may have been something to that. Anyway, she created an amazing hot fudge sauce recipe. Whenever company came over, she would serve it and give them a jar to take home.
I really wish I knew her.
Anyway, I decided to cook up a batch today. I have all sorts of yummy things to put it in, so stay tuned!

Aunt Mona's Hot Fudge Sauce


Ingredients:
2/3 cup cocoa
2 tablespoons flour
1 cup sugar
2 cups boiling water
1 teaspoon vanilla
2 tablespoons butter (or oil, but butter is better)
1/4 teaspoon salt


Procedure:
Mix cocoa, flour, and sugar in a saucepan and add the boiling water.
Or a bowl.
Cook for 2 minutes off heat, stirring.


Add vanilla, butter, and salt and stir until butter is melted. If using oil, whisk until oil is incorporated.
I was making it for a friend allergic to dairy, so I used oil.
This fudge sauce is the best fudge sauce you'll ever have, guaranteed. It is deep and dark and wonderfully bittersweet. Definitely not a sweet sauce, it still tastes very chocolately and delicious. It pairs perfectly with any dessert, but is absolutely amazing when poured over a sweet ice cream. (I may or may not have dipped a macaroon in it as well.) Using oil makes the texture a little more, well, oily than using butter, but it also makes the sauce vegan.
If you're looking for the world's best fudge sauce, this is it. Stay tuned for more recipes featuring it!

Tuesday, June 26, 2012

Innovative Leftovers Part 2–Coulis Stir-Fry

When you have a severely depleted fridge, what do you make as a vegetable for dinner? Hint: You have a random bag of shredded carrots, some peas from your garden, two paltry scallions, and a blender half-full of tomato coulis.
What do you do with this mish-mosh of produce? Gnaw on raw scallions? Sit in a corner by yourself and eat a bag of raw carrots? Chug the coulis from the blender? Aside from being completely disgusting, where's the fun in that? No, you have to cook something. And that something is stir-fry.

Coulis Stir-Fry


Ingredients:

1 bag shredded carrots
2-3 scallions
3-4 cups sugar snap or snow peas
Meat of choice (optional)
1/2-1 cup tomato coulis
1-2 tablespoons olive oil, depending on pan size


Procedure:

Chop the scallions into small pieces.

Place pan over medium heat. Pour olive oil into pan and use spatula to coat bottom entirely.

Put vegetables and meat into pan and stir with spatula. Stir periodically until cooked, roughly 5 minutes.

Scoop stir-fry into bowl and pour coulis on top.

Though the coulis wasn't great on chicken, it was fantastic on stir-fry! It coated the vegetables nicely and enhanced them with its tomato flavor. The vinegar definitely wasn't as noticeable as it was on the chicken. Also, the stir-fry was so pretty! The colors were so bright and happy-looking.
See? Look at those peas. They're smiling.
This is a perfect summer dish!

Sunday, June 24, 2012

Peanut Butter Cupcakes

http://mingmakescupcakes.yolasite.com/
I was surfing the web a couple of weeks ago and found this website–no, not website. Godsend. What else could you call a page covered in pictures of 33 delicious-looking cupcakes? I swear, I almost smashed my computer to get at the cupcakes that I was sure were lurking just behind the screen.
I was salivating.
Tonight, my brothers had a bunch of friends over. (Side note: One of them made burgers. They were very good.)
Immerse yourself in my burger!
I was determined to bake something, despite the insane heat. I decided on the peanut butter cupcakes from Ming Makes Cupcakes, Cupcake 17. You garnish them with a peanut butter frosting AND chocolate ganache.
Unfortunately, I let my mom talk me out of making the cupcakes with Ming's recipe. She was worried about the fact that I had never made a cupcake from Ming's site before; Mom's a little leery about internet recipes. I conceded because I didn't want a hoard of dessert-hungry teenage boys raiding the house for any edible sweets. However, I was determined to make the luscious-looking frosting and ganache from Ming Makes Cupcakes. So, after an extensive search, I found a recipe for peanut butter cupcakes on Epicurious's site. (For some reason, good peanut butter cupcake recipes are hard to find. Reviews for most of the recipes I found said that they were dry or sunken or tasted weird.) Although some of the reviews for Epicurious's cupcakes said they were a little dry, others said that they were delicious if you reduce the flour. I made a couple other modifications as well. So here is my version of Epicurious's peanut butter cupcakes with a slightly modified peanut butter frosting and chocolate ganache from MingMakesCupcakes:

Ingredients:

Cupcakes:


1 cup all-purpose flour
1-1/2 teaspoons baking powder
Rounded 1/4 teaspoon salt
1/2 cup smooth peanut butter
1/4 cup (1/2 stick) unsalted butter, softened
1/2 cup packed light brown sugar
1 large egg
1 teaspoon vanilla
2/3 cup whole milk (or 2/3 cup skim and 1-1/3 tablespoon melted butter mixed together)

Frosting:


1/2 cup peanut butter (crunchy or smooth)
1 teaspoon vanilla
1 cup confectioner's sugar
3 tablespoons milk (any milk will do)


Ganache:

3/4 cup chocolate chips
1/4 cup heavy cream


Procedure:

Cupcakes:


Preheat oven to 350 degrees. Whisk flour, baking powder, and salt together in a bowl.

Beat peanut butter, butter, and sugar in an electric mixer on medium speed for about 2 minutes or until blended.
Add egg and vanilla and beat until fluffy, also on medium speed.
Noo!
Reduce speed to low and add flour mixture and milk alternately, beginning and ending with flour.
My substitute for whole milk: 2 tablespoons butter, 3/4 cup skim milk.
Mix until just combined and do not overmix! Divide batter amongst 11 or 12 lined cupcake/muffin cups.
They should be about 2/3 full, or a little more if you make 11. Bake in center of oven until pale gold and toothpick inserted in center comes out clean-ish, 17-20 minutes.
Take cupcakes out of pan and allow to cool completely.

Frosting (This actually makes a reasonable amount of frosting. You will not be stuck with a gallon of leftovers and nothing to do with them.):


While cupcakes are baking/cooling, beat peanut butter and vanilla until blended, preferably in an electric mixer.
Add 1-1/2 tablespoons milk and 1-1/2 tablespoons sugar while beating.
I added pretty much all the sugar. Silly me.
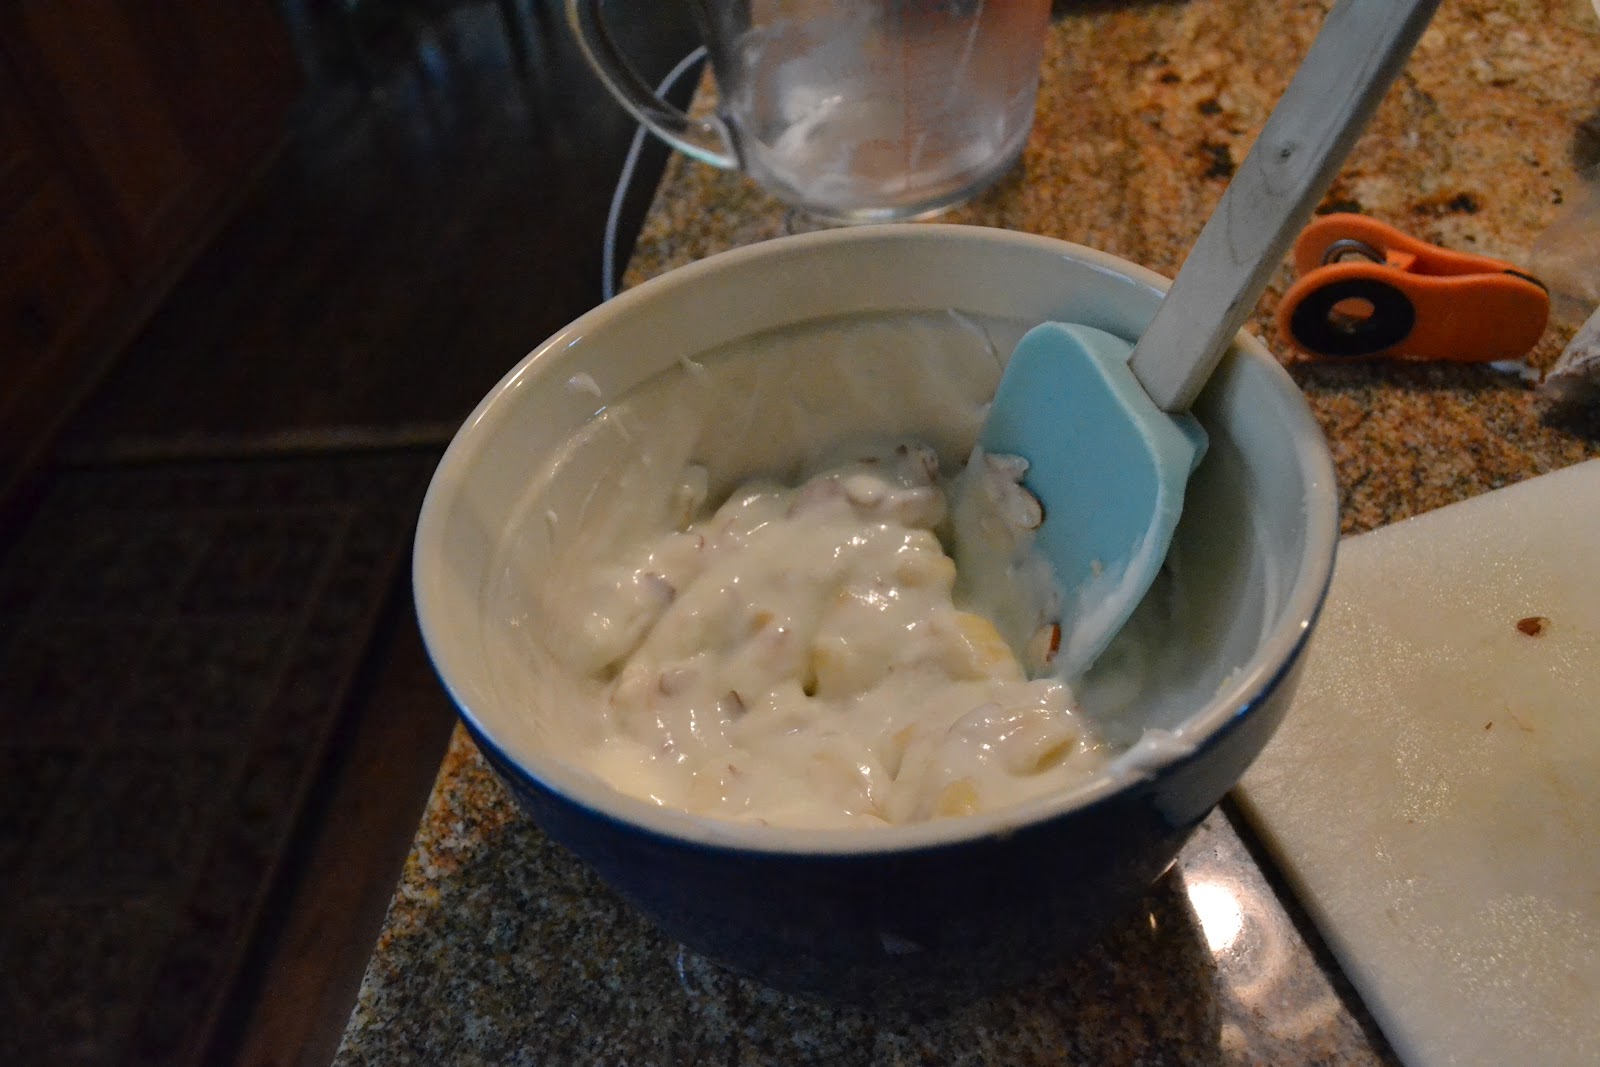
Add remaining milk and sugar and beat until smooth.

If frosting is too thick, add more milk and beat until the frosting looks like it does in the picture.
This picture.
Ganache:


After preparing frosting, pour chocolate chips in a bowl. Put cream in a small saucepan and bring to a low boil. Pour over chocolate chips and stir until smooth.
I did it with a double boiler. It didn't work as well.


Garnish cupcakes with heaping spoonful of frosting (or several). Drizzle ganache on top.


Gosh, where do I begin? These were AMAZING. The cupcakes were perfectly moist and not overly sweet. The recipe just barely makes enough for 12 cupcakes, so some of mine were a little small. It may be due to my habit of sampling the batter. Repeatedly.
If you like, make 11 and they should be larger. Although they aren't very peanut buttery on their own, the intense flavor of the frosting compensates for it. The frosting is the best part of this dessert. It was creamy and oh-so-peanuty. It tasted like a slightly sweeter and softer version of peanut butter and was just wonderful. I was sorely tempted to sit down and eat it with a spoon. The ganache really complemented the peanut flavor, but I found that the original method on Ming Makes Cupcakes (double boiler) left the ganache with flecks of chocolate or something else that refused to melt. Thus, I changed it to the usual boil-cream-and-pour-over-chocolate method.
If you are a die-hard peanut butter fanatic, I would add more peanut butter to the cupcakes. (Actually, Ming's recipe called for a full cup of peanut butter. Try hers!)
And Ming, I'm sorry for doubting your cupcakes.


Saturday, June 23, 2012

Simple Sauces Part 2–Raita

This is the second in a series of quick and easy sauces to jazz up any dish.

I had about a half-tub of leftover yogurt from the Bell Pepper Harissa Soup. Since we were having spicy sausages for dinner, I decided to make a nice yogurt sauce that I could douse my sausage in to hopefully prevent it from burning a hole in the roof of my mouth and causing irreparable damage to my larynx as it blazes a fiery trail down my esophagus.
So.
I consulted one of my favorite cookbooks, The Joy of Cooking. It has two recipes for raita, which is an Indian yogurt sauce specifically for spicy meats. Perfect! I chose the fruit one, mostly because we didn't have any of the stuff for the other one and conveniently had everything for this one. (The other is a cucumber/mint sauce.) It was actually good that I didn't have a choice, because they both sounded good–and they're both really easy to make.


Fruit Raita

Ingredients:


1 ripe banana, peach, or nectarine, finely chopped, or 1/2 cup fresh pineapple chunks
1 cup yogurt or 1/2 cup yogurt and 1/2 cup sour cream
2 tablespoons chopped almonds or macadamia nuts

1 tablespoon golden raisins (optional)
Up to 4 tablespoons sugar or honey, depending on fruit
Pinch of ground nutmeg or ground cardamom


Procedure:


Chunky: Put fruit, yogurt, nuts, and raisins in bowl and stir. Add honey/sugar and spice to taste and stir to combine.


Honey
Smooth: Put fruit, yogurt, honey, and nuts in a blender and blend until smooth. Add honey and spice to taste and blend a little more.
Please accept this picture of an adorable puppy as my apology for there not being pictures of the smooth sauce.
Though I don't mind chunky sauces, I created a "Smooth Sauce" approach for those who do. I wouldn't recommend using raisins for a smooth sauce, though, because I don't know how well those would blend.
I really like this sauce. It cut down on my sausage's heat nicely.
Thankfully, it did not burn a fiery hole down my esophagus.
Though some might say that it's just yogurt with fruit chunks, I disagree. It has the consistency of yogurt, but it tastes like more than a sum of its parts. The fruit and honey make it a sweet, balanced sauce perfect for hot dishes. Also, it's hugely versatile. By my calculations, there are over 192 versions of this sauce that can be made just by using peach and macadamia nuts instead of almonds and nectarines and simple switches like that. And that doesn't factor in the veggie version at all!

I should have a raita party–traditional Indian cuisine with a bunch of tiny things of raita. Can anyone loan me some bowls?

Friday, June 22, 2012

Innovative Leftovers Part 1–Hamburger Panini

This is the first in a series of fun and creative ways to use the leftovers in your fridge.

You've all had that moment. You look in the fridge and go, "Yes! There's still a hamburger leftover from dinner! And some cheese, too! Sweet! This will be the best lunch EVER!"
But then you realize two things:
1. You're way too excited about a hamburger.
And 2. You don't have a bun, just some frozen sandwich bread, and the only condiments you have are mayonnaise and barbecue sauce.
As you stare, devastated, into the fridge, and resign yourself to a lunch of frozen bread with mayonnaise, a revelation hits you.
PANINI!

Hamburger Panini:


Ingredients:

1/2 leftover hamburger
2 slices sandwich bread, frozen
Cheese

Barbecue sauce (or sandwich spread of choice)
Mayonnaise, butter, or olive oil
Lettuce, tomato, and/or pickles (optional)


Procedure:

Turn on panini press or place frying pan over medium heat. Spread thin layer of mayonnaise, butter, or oil on the outside of both slices of bread.
Spread preferred sandwich spread over inside of bread.
This is a mango-pineapple barbecue sauce.
Cut hamburger into slices and place on bread with cheese and any other toppings.
I gave the extra piece to my dog.
Arugula and provolone
Cover with second slice of bread and place in a panini press or hot frying pan. Place lid on frying pan.
Cook until cheese is melted and bread has golden brown grill marks.
Immerse yourself in my burger panini!

I love paninis! The cheese is so gooey and delicious and you can stuff pretty much anything inside them. In this panini, the sweet barbecue sauce I used cut down in the arugula's bitterness perfectly. Because of the oil (or mayo or butter) that is spread on the outside of the panini, the bread is amazingly crispy. I recommend that you start with frozen bread because the oil is easier to spread on a frozen surface. This panini is really adaptable; you can use any cheese, veggies, and condiments in your fridge. I especially love a spinach/mozzarella combo.